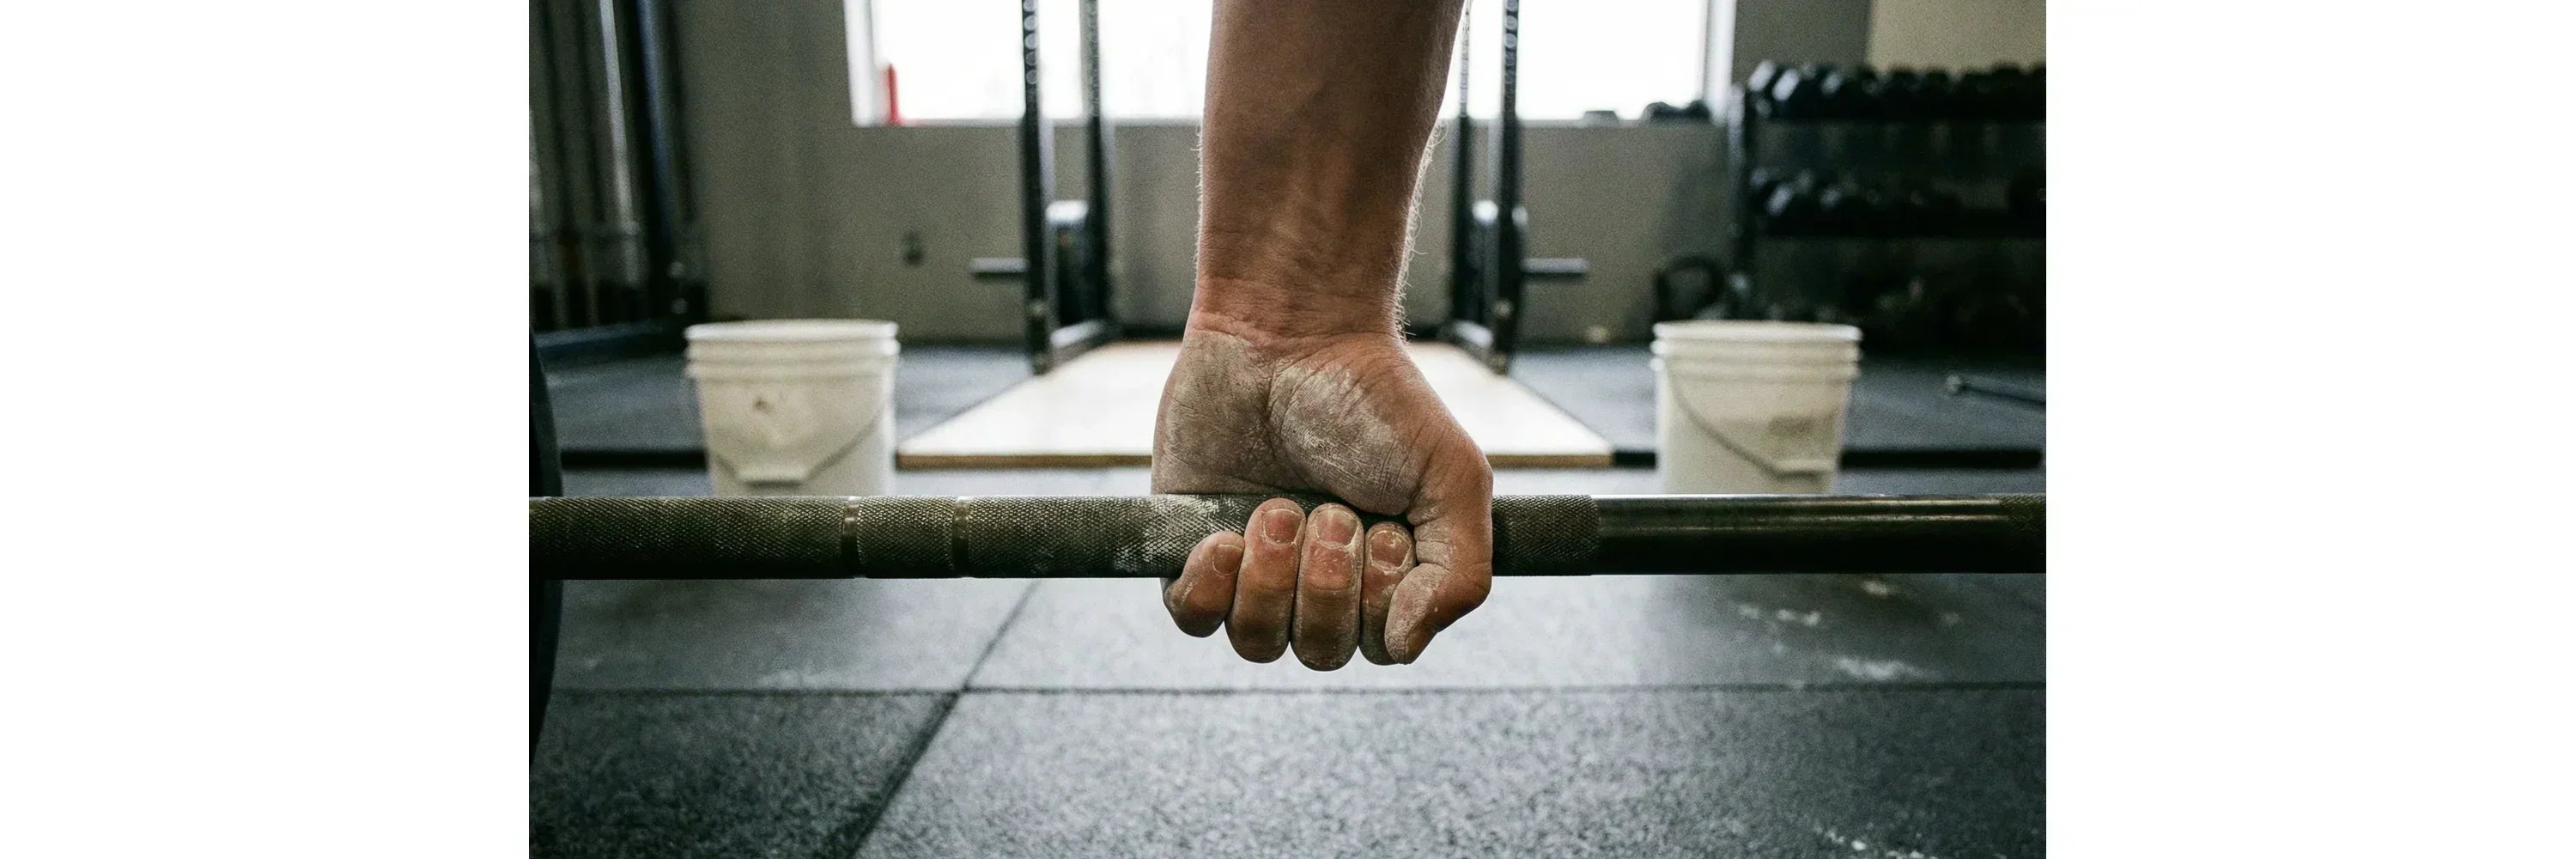

How do you apply the Daumendreher hook grip tape correctly?
For many CrossFit athletes and weightlifters, hook grip tape is an essential part of their training gear. It protects the thumbs and provides extra stability during heavy lifts. For the tape to be fully effective, it must be applied correctly without slipping, even during intense and sweaty workouts. In this article, you will learn step-by-step how to apply hook grip tape correctly so that it stays firmly in place and you can focus entirely on your training.
Why the tape sometimes doesn't stick properly to your thumb
Before we turn to correctly taping the thumbs, let's briefly discuss why hook grip tape sometimes doesn't hold as well as it should.
Sweat and chalk: If you apply the tape during your workout, your hands might already be sweaty or covered in chalk. This significantly impairs the tape's adhesion.
Wet fingers: Perhaps you were in the restroom shortly before the workout and didn't dry your hands meticulously after washing. This is similar to sweaty hands; the tape cannot adhere well to damp fingers.
Insufficient activation of the adhesive: The tape's adhesive is activated by heat. If the tape hasn't had enough time to "set," it may slip or come loose.
Incorrect application: If the tape isn't pressed on firmly enough or is stretched too much, it can come loose during the workout. Furthermore, the end of the tape should not be located where your thumb grips the barbell.
Moisturizer: Hands that have been treated with moisturizer will reduce the adhesion of hook grip tape for up to 24 hours after application.
Step-by-step guide to applying hook grip tape correctly
Step 1: Prepare your hands: Before applying the tape, your hands should be clean, dry, and free of moisturizer or other residues. If you need to apply tape during your workout, use a towel or your shirt to dry your hands thoroughly.
Step 2: Apply the tape: Pull off a piece of tape a few cm long from the roll and hold it with your index finger and the thumb you want to tape. Now wrap it around your thumb about twice. The tape should be firm, but not too tight. You can then tear off the tape. Make sure that the end does not lie in the area of the thumb where the barbell will later rest.
Step 3: Press the tape down: After wrapping your thumb, it may be the case that the hook grip tape is not lying perfectly flat everywhere. To fix this, grasp the taped thumb with the fist of your other hand and press the tape firmly all the way around.
Step 4: Activate the adhesive: As already mentioned, the adhesive of hook grip tape is activated by heat. Therefore, wait about 2–3 minutes before you start your workout. This gives the adhesive time to develop its full bonding strength.
Additional tips for optimal adhesion
Dry your hands: Take meticulous care to ensure that the fingers you want to tape are bone-dry.
Apply the tape before the workout: It is best to apply the tape before your workout so that the adhesive already has time to activate and stick firmly to your skin.
Avoid overstretching: If you stretch the tape too much, especially at the ends, it can come loose more quickly. Ensure a firm, but not overly tight fit.
Use tape specifically designed for the hook grip: Not every tape is suitable for CrossFit or weightlifting. Make sure you choose tape that has been developed for these activities to ensure the best adhesion and durability.
Conclusion
Hook grip tape can be your best friend during a workout if you use it correctly. With the steps mentioned above, you ensure that the tape stays firmly in place even during the most intense sessions, allowing you to focus fully on your performance. Avoid common mistakes like applying it to wet or moisturized hands and give the tape the time it needs to develop its full adhesive power.