Article: Hook Grip: Technique, Pain & Tips
Hook Grip: Technique, Pain & Tips
There is this one moment that almost everyone who trains with a barbell knows. You set up for a clean, pull the bar from the floor, everything is going smoothly — and then, somewhere between your knees and hips, you notice the barbell rotating in your hand. Not much, just a few millimeters. But those few millimeters are enough for your grip to give way, the tension to break, and the weight to slip from your fingers. Not because you were too weak. But because your grip isn't made for that kind of movement.
That is exactly where the hook grip comes into play. A grip that holds where others fail — during the snatch, the clean, under load, and at speed. The catch, quite literally: It hurts. At least at the beginning, your thumb feels like it wasn't made for it. That scares many people off before they even give it a fair chance. Yet the truth is relatively simple. The pain passes, the benefits remain. And once you have mastered the hook grip technique, you will wonder why you struggled with the standard overhand grip for so long.
In this article, I will show you step-by-step how to properly set up the hook grip, why the pain disappears after a few weeks, and what you can do to make the transition period bearable.
In a nutshell
The most important things before your coffee gets cold.
- The hook grip works mechanically: Your thumb goes under your fingers, not over. This makes it biomechanically stronger than any other overhand grip — the barbell can no longer roll away.
- The pain is normal: After 4–6 weeks of regular training, the adjustment phase is over. Anyone who gives up before then misses out on the potential for new personal bests.
- Tape isn't a cheat: It protects the skin on your thumb, improves your grip, and makes the first few weeks significantly more comfortable. Even experienced lifters use it for weightlifting — not out of weakness, but because it simply makes sense.
Let's get started.
What is the hook grip
Imagine a standard overhand grip. Your fingers wrap around the barbell, your thumb sits on top, and essentially only the strength of your fingers and forearms holds the weight in place. That works — as long as the barbell isn't moving. But as soon as you pull on the bar and accelerate it, it starts to roll under your fingers. The heavier the weight and the more explosive the movement, the stronger this rolling motion becomes. Eventually, your grip gives out, no matter how hard you squeeze.
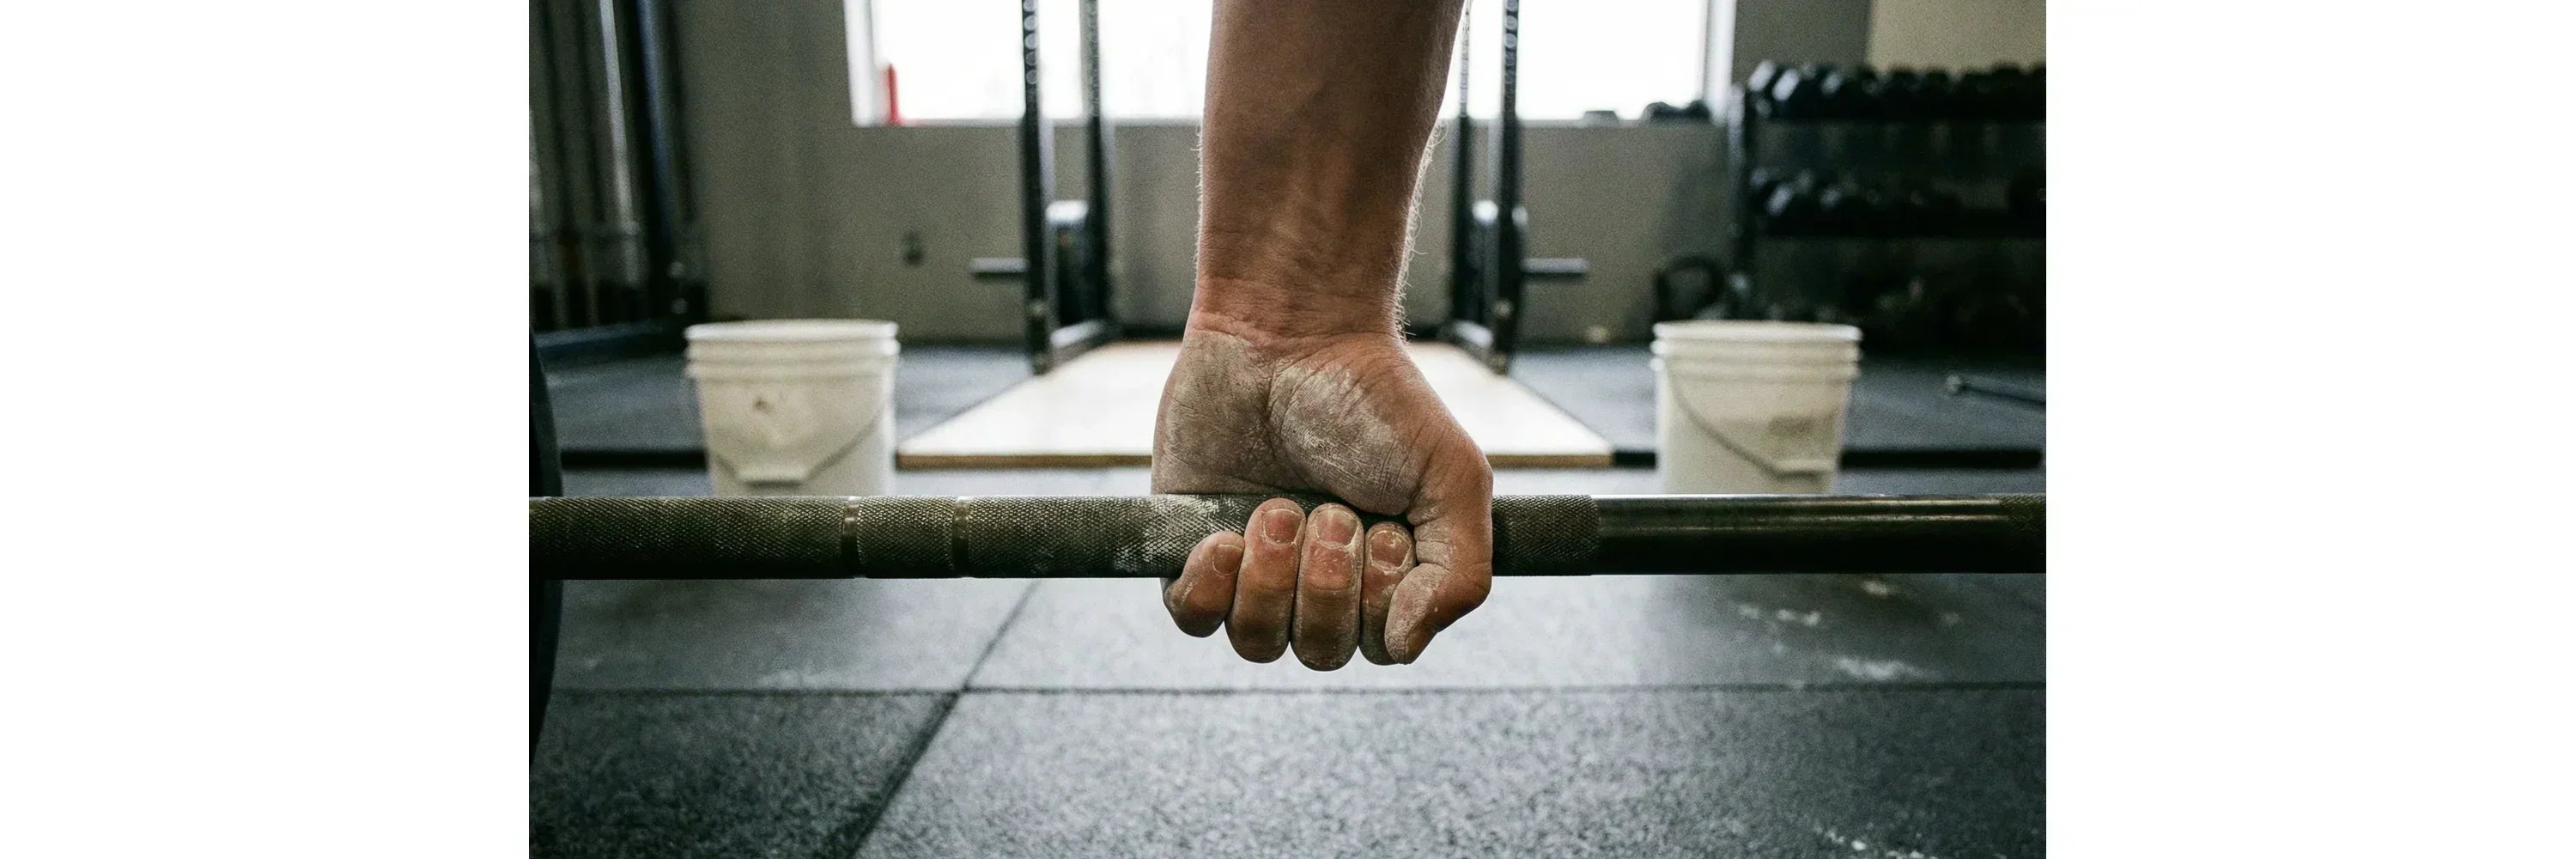
The hook grip reverses this principle. Instead of placing your thumb on top, you wrap it under your fingers — it gets wedged between the barbell and your index and middle fingers. That sounds like a small change, but it alters the entire mechanics. The thumb now acts as a kind of wedge that creates internal rotation in the hand and forearm. More force flows directly into the barbell, and at the same time, you have two layers of protection against the rolling motion: the fingers from the outside and the trapped thumb from the inside.
This is exactly what makes the difference between a grip that gives up at a certain weight and one that holds even when the barbell is accelerated upward at maximum speed.
How to approach the hook grip correctly — 4 steps
When executed correctly, the setup takes just a few seconds. When done incorrectly, it hurts more than necessary and still doesn't hold — which is then doubly frustrating. So take the time to go through each step consciously before you try to lift with it.
Step 1 — Thumb under the barbell: Place your thumb as deep as possible under the barbell. Not the tip of the thumb, but the area right after the thumb joint — the ball of the thumb. The thumb should lie flat and far down on the bar, not balance on top. The deeper it sits, the more surface area you have and the better the mechanism works.
Step 2 — Wrap your thumb as much as possible: Now, wrap your thumb around the barbell as far as you can. This is the step where hand size plays a role — some can get further around the bar than others. But regardless of how big your hands are: the goal is maximum surface area. The more of your thumb that is against the barbell, the more stable the entire grip becomes.
Step 3 — Index and middle fingers over the thumb: Place your index and middle fingers over your thumb and actively pull it even further toward the barbell while doing so. Your thumb is not just being covered, but actually pressed into position. This active pull significantly increases the wedging effect — this is the moment when a loose thumb position becomes a solid hook grip.
Step 4 — Close the remaining fingers and pull slightly: Close the remaining fingers around the barbell and then pull slightly upward, i.e., against the bar. This final step gives the entire grip its tension. Without this active pull, the grip remains passive and loses stability under load.
Hook grip pain — normal or done wrong
The first time you use a hook grip, it feels roughly like someone has jammed your thumb between a bar and a C-clamp. Your brain tells you immediately: This can't be right. But it is right. Your thumb skin simply isn't used to working under this pressure. It gets squeezed between the barbell and your fingers, the thumb joint is subjected to stress it doesn't encounter in everyday life, and the result is pain that feels like you've made a mistake.
But it isn't a mistake; it's adaptation pain. And that has an expiration date. After a short time and regular training, the skin gets used to the pressure, the sensitivity decreases, and eventually, you will apply the grip without even thinking about it. Most athletes who have truly stuck with it eventually say the same sentence: I don't even notice it anymore.
Until that happens, there are three things that help.
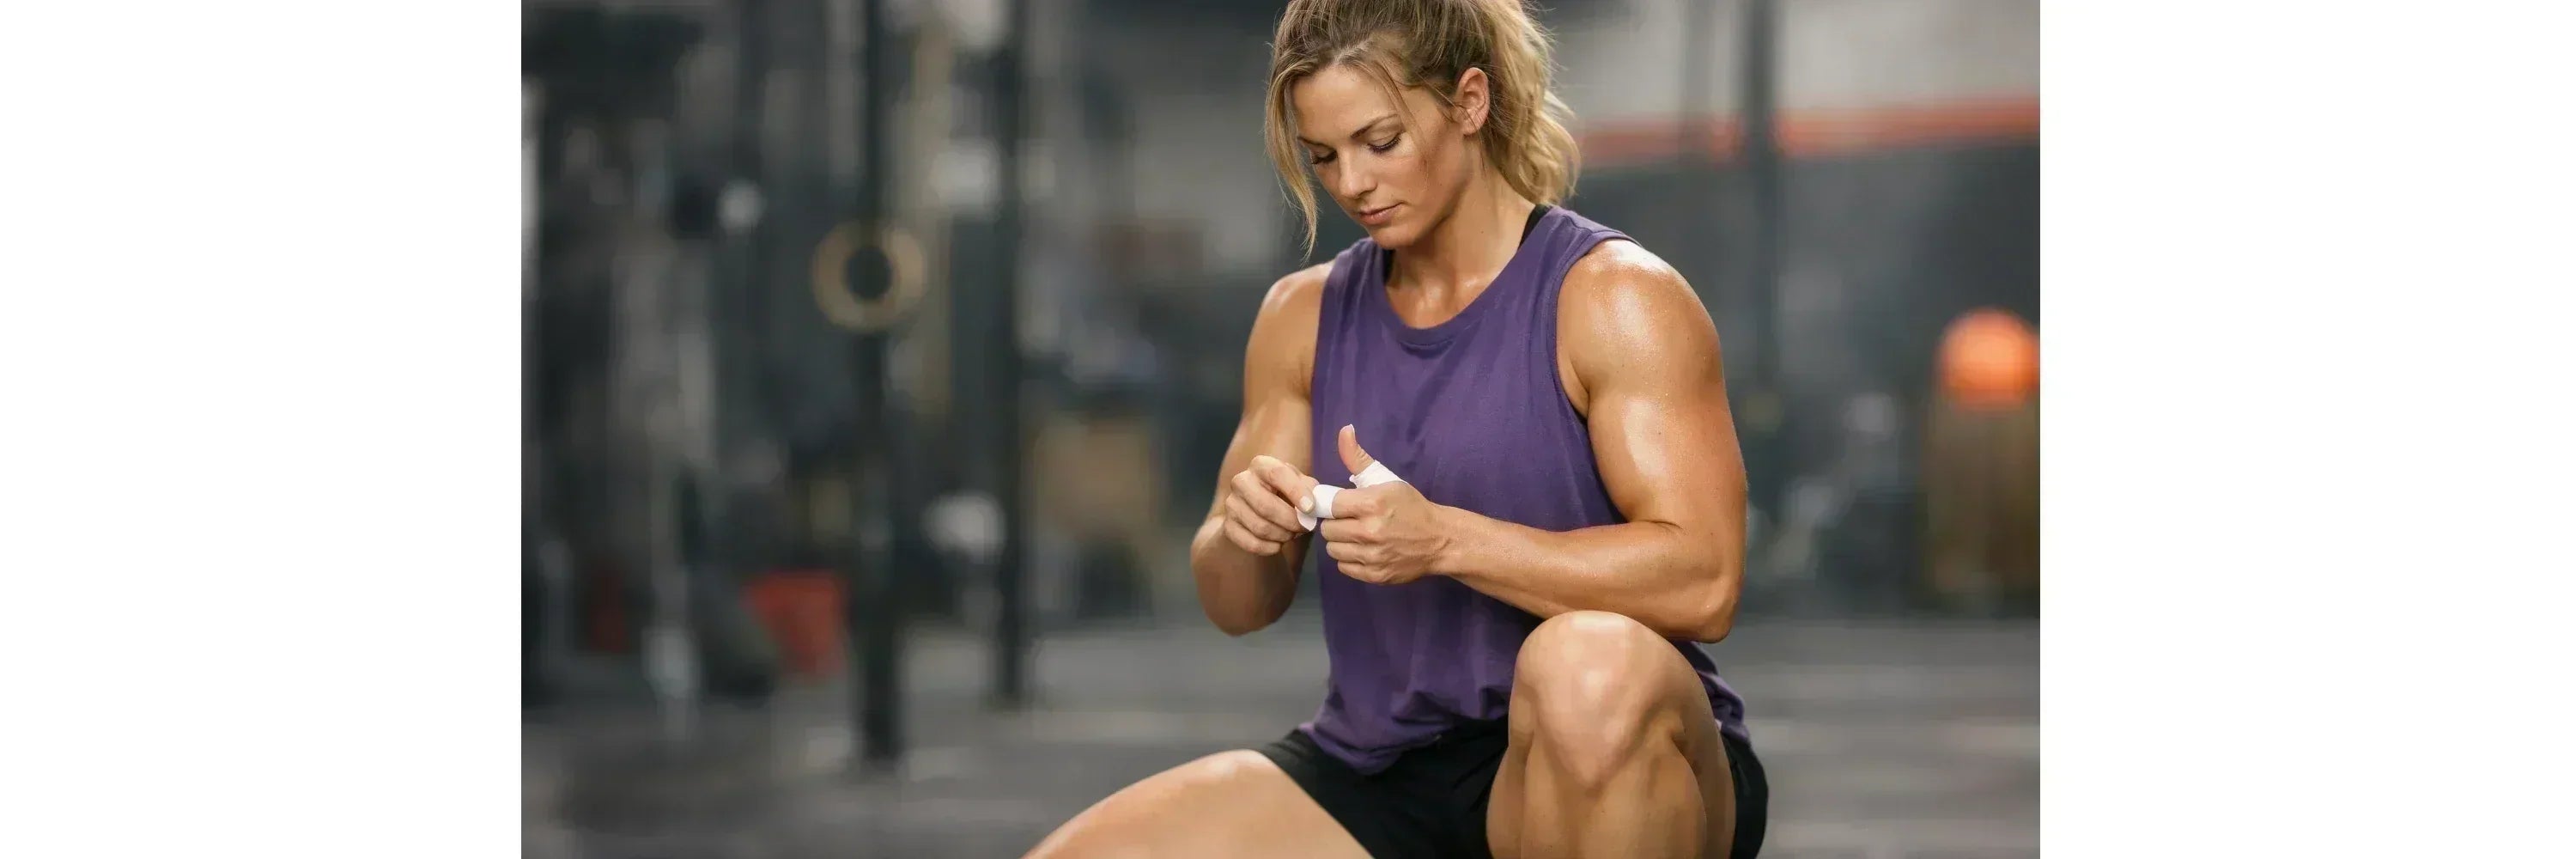
Tape: The most direct solution for hook grip pain. A good hook grip tape acts as a protective layer around the thumb, cushions the pressure, and reduces friction on the skin. The first few weeks become noticeably more comfortable with it — not pain-free, but bearable enough to stick with the grip instead of giving up out of frustration. Important: The tape should be snug, but not constrictive. If you are unsure how to apply it correctly, you can find a guide on taping your thumbs for weightlifting here.
Chalk: Helps with sweaty hands and improves your grip on the barbell. However, what chalk does not do: reduce friction on the thumb skin. So it only solves part of the problem and is not enough on its own if pain is the main issue.
Build up slowly: Just as important as tape and chalk, but often underestimated. Anyone who jumps into the hook grip with maximum weight on the first day is overwhelming their skin and immediately associating the grip with a negative experience. The better way: start with light weights, practice the technique properly, and slowly increase the volume over weeks. This gives your skin time to adapt, and you get used to the feel of the grip before the load is added.
When do I need the hook grip — and when not
The hook grip is not a grip you need for every exercise. It was developed for a specific purpose: fast, explosive movements where the barbell is accelerated and a standard overhand grip gives up under the resulting centrifugal force. Anywhere you have to snatch or clean the bar in a controlled manner, it is not optional — it is the standard in weightlifting.
Hook grip: yes - Snatch - Clean - Power snatch - Power clean
These are the movements where, without a hook grip, you will eventually hit a wall. The barbell accelerates too fast, the rotation in your hand is too great, and no standard overhand grip can compensate for that in the long run.
Anyone who uses the hook grip exclusively for the Olympic lifts and skips it for deadlifts is doing nothing wrong. It's not about doing everything with this grip — but about using it where it makes a real difference and where it helps you progress.
Common mistakes with the hook grip
From the outside, the grip looks simple. Hand to the bar, thumb under, fingers over, done. But in detail, a few persistent mistakes occur that make the difference between a grip that holds and one that only pretends to.
Not wrapping the thumb enough: This is by far the most common mistake. The thumb only lightly touches the barbell instead of really gripping deep underneath and wrapping around the bar as much as possible. In this position, the wedging effect is almost completely absent — the thumb is trapped, but it hardly generates the internal rotation that makes the grip so strong. The solution is simple but uncomfortable: consciously place your thumb deeper and further around the barbell, even if it feels strange at first.
Fingers only grip the thumb, not the barbell: A mistake that often occurs together with the first one. Your index and middle fingers wrap around the thumb but lose contact with the barbell itself. The grip might feel tight, but it has significantly less stability because an entire contact surface is missing. Both fingers should grip the thumb and the barbell at the same time — the thumb is pressed toward the bar, not just held in place.
Opening the grip incorrectly during the drop: This error mainly concerns the snatch. After the lift, the barbell is released, the wrist turns, and the thumb is freed. Anyone who opens the grip too abruptly or in the wrong direction risks unnecessary pain in the thumb joint — sometimes even a strain that lasts for a few days. Releasing the grip is just as much a technique as setting it up and needs to be practiced just as much. Especially at the beginning, it is worth going through this part of the movement consciously and in a controlled manner.
Conclusion
The hook grip is uncomfortable. That is not an exaggeration and not a rumor, but simply the reality of the first few weeks. But at the same time, it is the foundation for every clean snatch and every clean clean — and the adjustment phase is temporary. Anyone who learns the hook grip technique properly, bridges the first few weeks with tape, and doesn't give up at the first sign of pain will eventually reach the point where the grip feels as natural as chalk on your hands. And then you only wonder one thing: Why didn't I do this sooner.